Welcome to our blog, where we detail the process of creating a 6-button silicone rubber keypad. If you’re unfamiliar with silicone rubber keypads, we recommend checking out our previous blog post, which offers a comprehensive overview. This foundational knowledge will enhance your understanding as you proceed with this guide.
Creating your own 6-button silicone rubber keypad can be an exciting project, whether for a personal device or a prototype. Here’s a step-by-step guide to help you through the process.
Step 1: Prepare the Mold for the Keypad
Print the Mold
Start by printing the two halves of the keypad mold. You can use materials like ABS plastic, though PLA or other common 3D printing materials will work just as effectively.
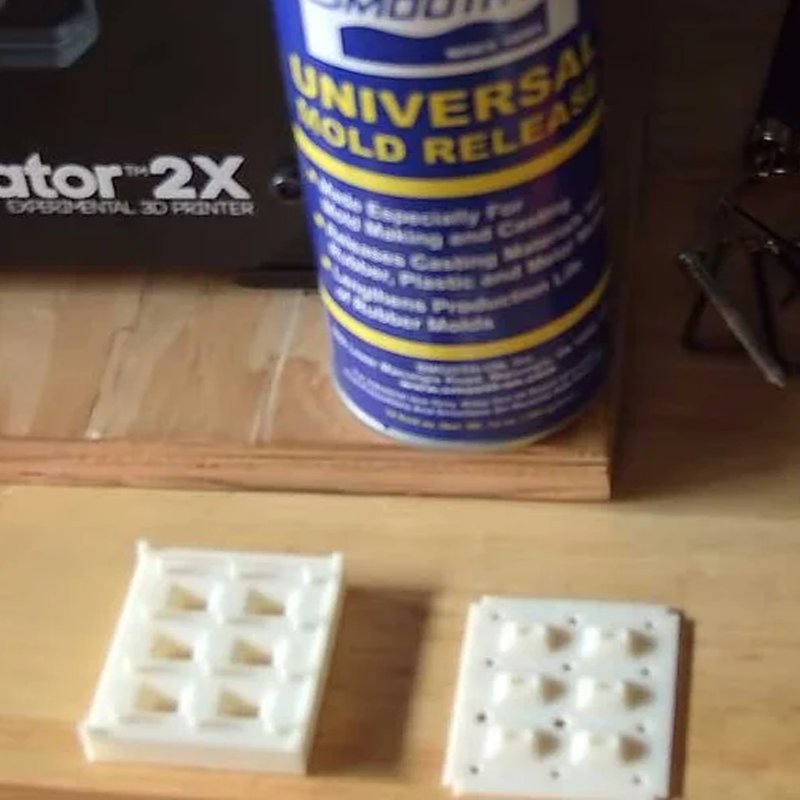
Apply Mold Release
Once the mold parts are printed, spray them with a mold release agent. This makes it easier to remove the molded object later, much like greasing a baking sheet. A light coating is sufficient, and it’s best to do this in a well-ventilated area.
Step 2: Choose Your Silicone Rubber
Getting Ready
You won’t need much for this project. Using two large craft sticks, spoon equal volumes from containers A and B into a paper cup. Precision isn’t crucial, so don’t worry about measuring exactly.
![]()
Step 3: Mix the Silicone Rubber
Stir the mixture thoroughly until it reaches a uniform color, ensuring complete blending. The silicone rubber has a slow curing time, so take a moment to mix well.
![]()
Step 4: Pour the Silicone Rubber
Before You Pour
Identify how the top mold fits onto the bottom mold. There’s only one correct orientation, so make sure to note that before pouring.
![]()
Pour
Carefully pour the silicone rubber into the bottom mold and then place the top mold on. The consistency of the silicone is similar to honey, so expect some overflow as the molds press together.
Step 5: Prepare for Hardening
Clamping
With one edge of the assembled mold facing up, use a clamp or vice to hold it together gently. Spoon additional silicone rubber into any open slots at the top until the mold is full.
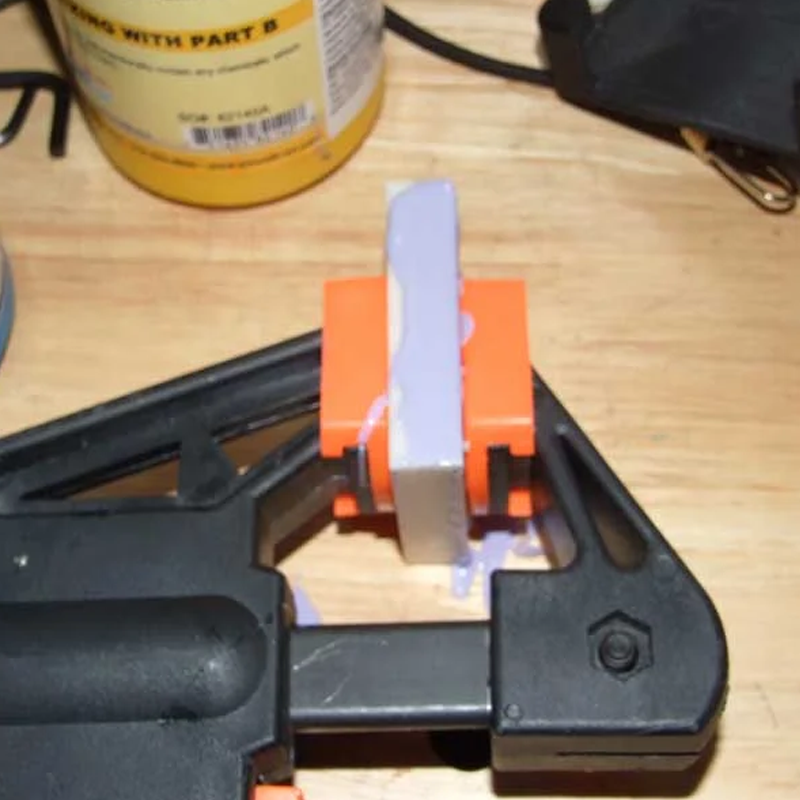
Curing
Allow the mold to cure undisturbed. While it will become somewhat firm after a couple of hours, letting it cure for the full six hours as recommended will yield the best results.
Step 6: Remove the Keypad from the Mold
Once cured, release the clamp and carefully pry off the top mold. Gently pull the keypad from the bottom mold.
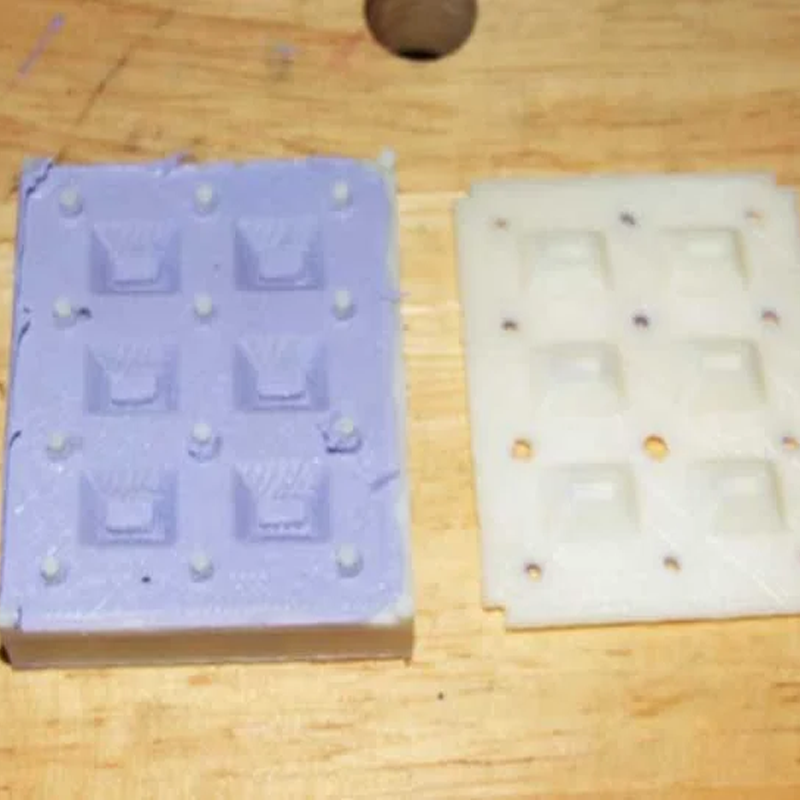
Step 7: Print the Keypad Frame and Assemble
Using a 3D printer, print the top and bottom plates from the attached STL files. For the best finish, print the top plate without a raft.

Assemble
Place the keypad onto the bottom plate, ensuring the posts fit into the corresponding holes. Then, add the top plate. You might need to enlarge the holes slightly to accommodate the buttons comfortably.
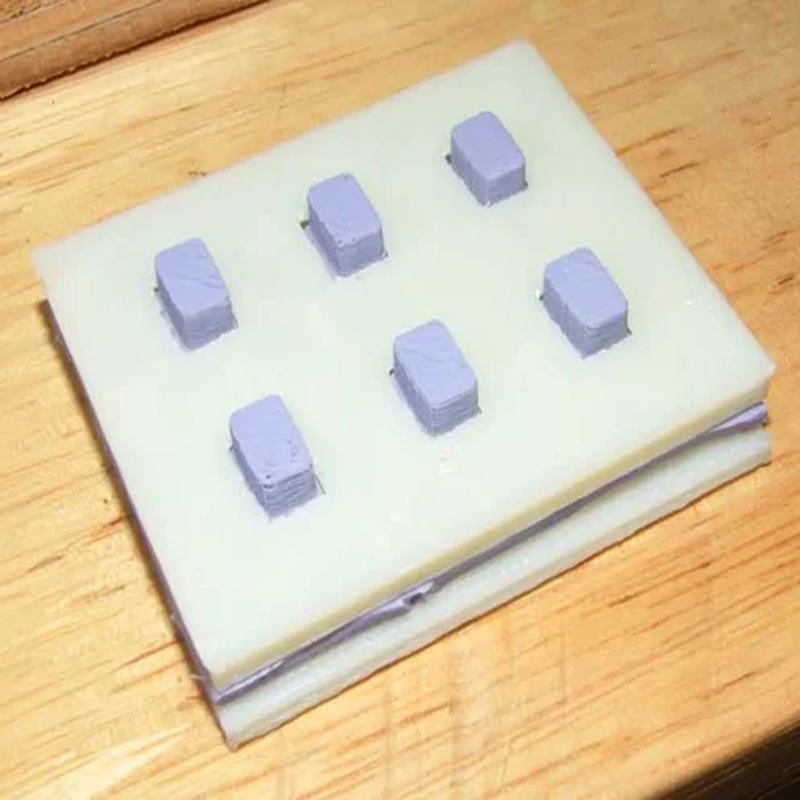
Why the Frame?
The frame is essential because it ensures that only the portion of the keypad supporting the button bends when pressed. This stability prevents unintended distortion in areas that should remain rigid.
Step 8: Hooking It Up
Conductive Rubber
Each button has a rectangular platform on the underside. To make the keypad functional, apply a layer of conductive rubber, 1-2 mm thick, to these platforms. Ensure the surface is flat for optimal contact with the circuit board.
Circuit Board
Beneath the keypad’s bottom plate, place a circuit board with contact points that the conductive rubber can bridge. A layout resembling interlaced fingers works well for this purpose.
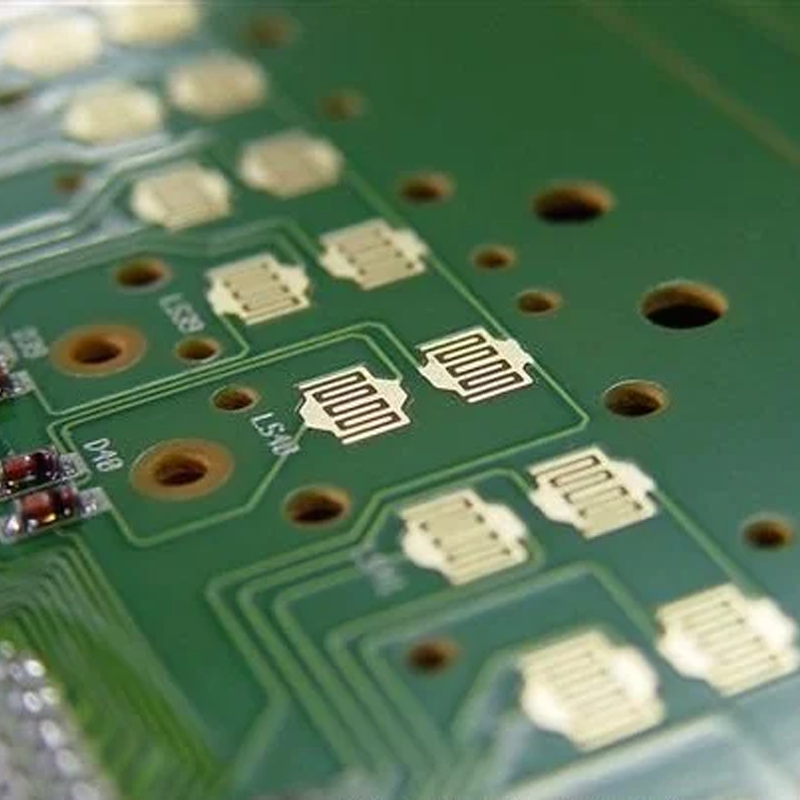
Processor
When the conductive rubber is pressed down onto the contacts, it connects them, allowing a processor (like an Arduino or Raspberry Pi) to detect the button press.
Step 9: Further Exploration
Experiment with a Big Button
My initial silicone rubber keypad project involved creating a single large button. While there are aspects I improved in the 6-button design, the large button was straightforward and easy to work with. For scale, a quarter is included in the accompanying images.
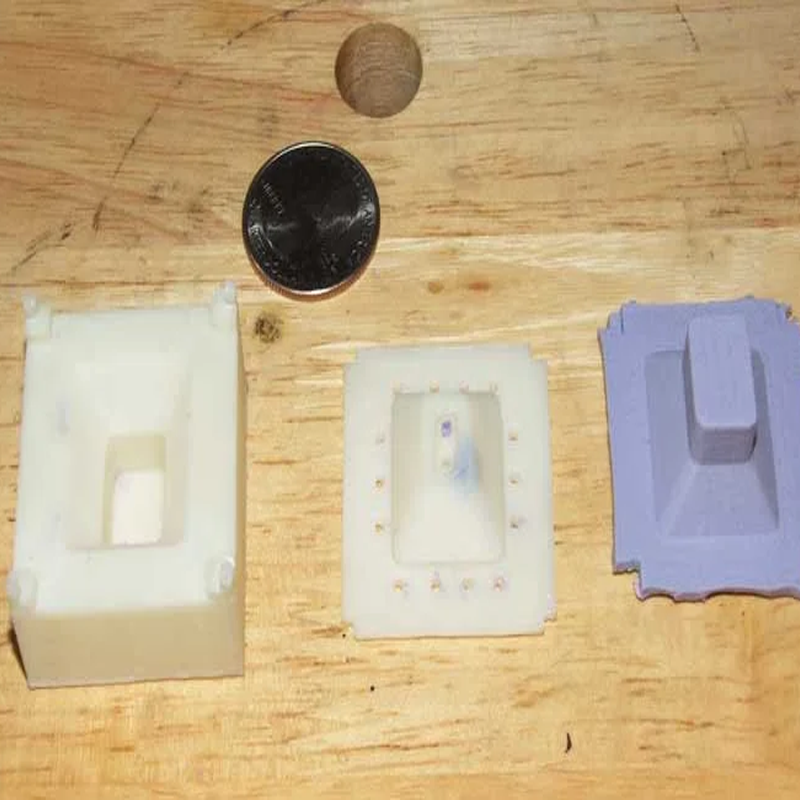
With these steps, you can create your very own 6-button silicone rubber keypad. Whether for personal use or a larger project, this guide equips you with the knowledge to bring your ideas to life. Happy crafting!